DTF Printing
1. What is DTF Printing?
Not sure what DTF (direct to film) printing is? Here’s a quick and simple explanation of how it works and the benefits.
What is DTF printing?
Why use DTF?
- Full colour printing CMYK
- White colour printing
- No weeding
- Fast processing speed
- Stretchable and crack resistant transfers
- Print on any material
- Print on any colour
🎨 DTF Printing Process Explained
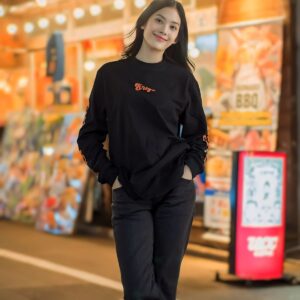
DTF (Direct-to-Film) Printing is a modern method of printing designs on fabric using specialized inks, films, and powders. It is ideal for T-shirts, hoodies, sweatshirts, and other apparel. Unlike traditional methods, DTF allows vivid, full-color prints on almost any fabric type.
1️⃣ Design Preparation
- The process starts with creating a digital design on software like Adobe Illustrator or Photoshop.
- Designs must be mirrored (flipped horizontally) because they will be transferred from film to fabric.
- Ensure high resolution (300 dpi or more) for crisp prints.
2️⃣ Printing on Film
-
The digital design is printed directly onto a special PET film using a DTF printer.
-
Water-based or pigment inks are used, which produce vibrant colors.
-
White ink is printed first if the design is on dark fabrics, then the colored inks are printed on top.
3️⃣ Powder Application
-
While the ink is still wet, a special adhesive powder is sprinkled onto the printed film.
-
The powder sticks to the ink and ensures the design will adhere to the fabric during heat transfer.
4️⃣ Curing the Powder
-
The film passes through a curing oven or heat tunnel to slightly melt the adhesive powder.
-
This makes the powder ready to bond with the fabric.
5️⃣ Heat Transfer to Fabric
-
The prepared film is placed on the garment with the design facing down.
-
Using a heat press machine, heat and pressure are applied (usually 160–180°C for 15–20 seconds).
-
The design transfers perfectly from the film to the fabric.
6️⃣ Peeling & Finishing
-
After pressing, the film is peeled away.
-
The printed design remains on the garment with vivid colors and soft feel.
-
Optional: Another heat press pass can be applied to increase durability.